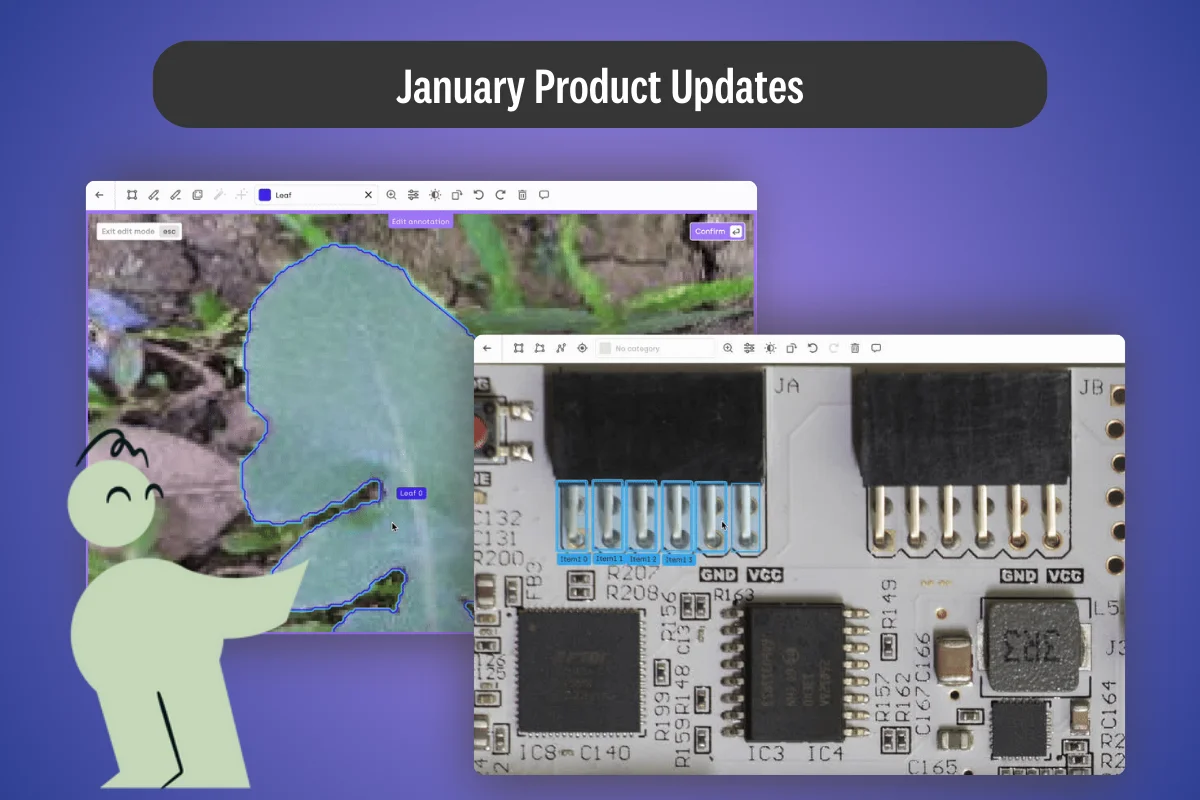
Kili Technology is a versatile labeling platform with a variety of cleverly designed tools and workflows that lets you label text, PDFs, images, and videos in all sorts of formats. Based on comments and feedback that we’ve collected over many months, we’ve decided to completely rebuild our video interface, with the ultimate goal of making it best in class and a natural choice for any labeling team, regardless of whether their goal is training autonomous vehicles, industrial quality control models, or any of the other countless video labeling uses.
For starters, we’ve completely redesigned the timeline (it’s now clearer and more easily navigable). Additionally, to make the annotation process even simpler and more intuitive, we’ve introduced adjustable propagation settings, added more flexibility in expanding/contracting the span of annotated frames, and enabled smart tracking when editing an annotation. In Kili’s new video interface, you’ve also got way more flexibility when accessing functionalities such as deleting and hiding annotations visible on screen. In this article, we’ll provide you with a summary of what we’ve managed to achieve. Before we delve into all the goodies Kili has prepared, though, let’s start with some basics:
Upload any format, with any codec and any framerate
The videos that you upload to Kili can be either URLs pointing to assets hosted on a web server or files that you keep on your computer’s hard drive (at the moment, you can’t use videos hosted in cloud storage, though this is most probably bound to change in the near future). Kili supports all the major video formats and a wide variety of respective codecs, so you have a lot of flexibility when uploading. Same goes for framerates, by the way: Kili lets you do almost anything to a video here; you can keep the native video frame rate, upconvert it to a higher rate, or–in cases when constraints like storage requirements or available bandwidth cause bottlenecks–choose to downconvert the original video. Don’t worry if your video’s frame rate is non-integer either: Kili imports these right off the bat: no need to convert them beforehand.
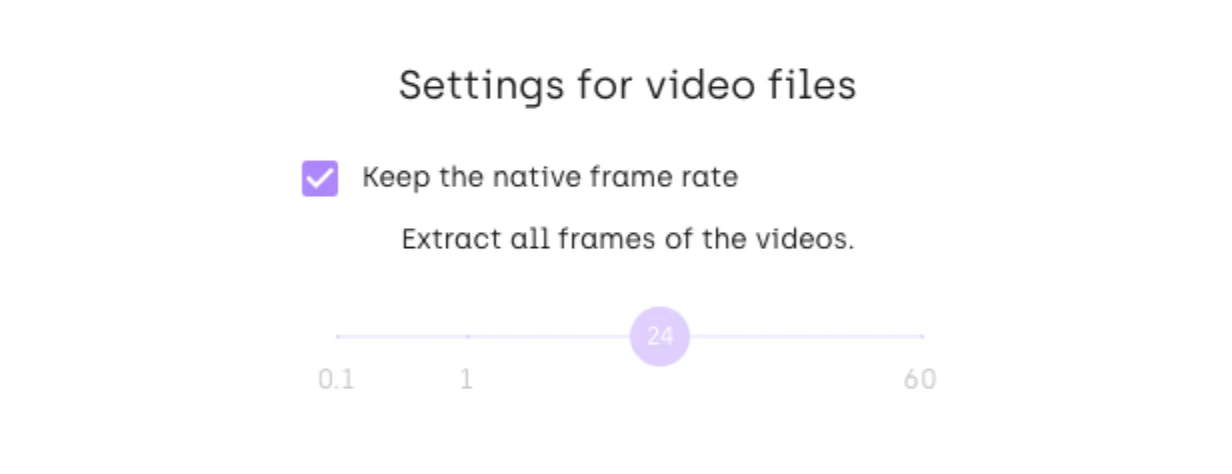
Additionally, when you upload your video to Kili, you can decide whether to split it into individual image frames or keep the video as-is and stick with timestamps. The latter is the preferred way, as labeling videos that have been cut up into individual frames can be noticeably slower and narrows down the available feature set (more on that later).
Build an ontology that matches your use case
With vids successfully uploaded, now it’s time to build your ontology. At Kili, labeling jobs are essentially tasks which are associated with specific tools (or input types). For example, each one of these can be considered a Kili labeling job:
- Classification task with a multi-choice dropdown input type
- Object detection task with the polygon tool
Currently, you can add classification, object detection, and transcription jobs to your video projects, with point, bbox, and polygon tools at your disposal. We are planning on adding interactive semantic jobs sometime in the near future, too, to make the whole process even smoother and less time-consuming.
To add flexibility to Kili’s already powerful video ontology builder, your labeling jobs can be nested under one another. For example, you can have an object detection job to mark people in your surveillance camera footage and a nested classification job designed to label their behavior as “normal” or “suspicious”.
Adjust your labeling environment to match your needs
Once the videos are loaded and the ontology ready, you can make further adjustments to make the labeling process as smooth as possible. For example, Kili lets you adjust the “magnification factor” on the frames visible in the timeline. So if you want a general overview, you can “zoom out”; but if you need to adjust specific annotations on very specific frames, you can “zoom in” to see just a handful of frames in the same timeline and conveniently handle them as separate entities

When you create an annotation on an asset, an object is simultaneously created in the jobs viewer, and on the video timeline, so you can view and adjust it wherever’s most convenient for you. By default, your new annotation will be propagated to the next 100 frames; of course you can increase and decrease this number, or even switch off the propagation completely, if you prefer to address your frames one by one.

Watch video
The maximum propagation limit at Kili is 500 frames. Let’s face it, though: objects in videos rarely stay at the same spot for that long. If you need more flexibility (for example, you want to propagate your annotation to the end of the video), you can easily extend an existing annotation to more frames (more on that later).
Of course, standard timeline controls are also available: you can move back and forth between your video frames, type a frame number and then jump to a specific frame, play the video starting with the frame you’re currently on, and mute the video, if background audio is distracting you.

Watch video
Note that in Kili’s revamped interface you can now more clearly see where the frame reading head is located. The frame grid is more readable than before, too.
Finally, regardless of the frame rate that you selected when uploading your video, you can still change the playback speed, for extra granularity and flexibility, for example when you want to review your labelers’ work and focus on the minutest details.
Mind you, this is all on top of the standard Kili’s environment controls that let you adjust brightness, contrast, opacity, or even invert the colors on the video you’re working on:
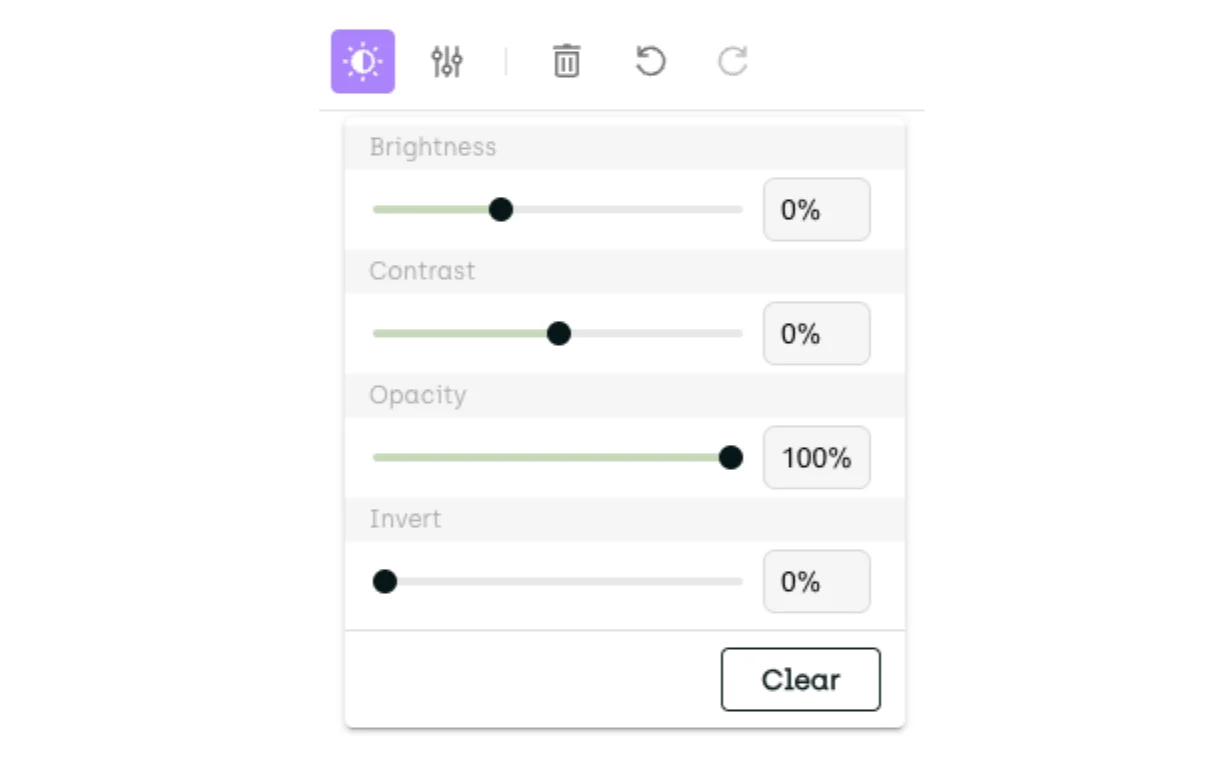
… not mentioning label-related controls that let you control basically anything from label opacity to whether or not nested classification jobs should pop out automatically or wait for you to expand them (a bit on that later).
Word of advice: While preparing your environment, go ahead and spend some time reading through Kili’s keyboard shortcut menu. With a bit of practice, you can significantly speed up your labeling speed and boost your productivity.
Annotate
With the preparations behind us, we can start annotating. In projects with many class categories to select from, the simplest way to create an annotation on your video is to first select the tool (for example, a bbox), then select the interesting area of your asset, and finally select one of the available classes from a context menu that conveniently pops up at precisely the right moment.
Watch video
If your project requires you to reverse this logic (like when you need to create several annotations of the same class, one by one), you can select the object class first and then all the matching objects. Basically, whatever the workflow, Kili’s there for you.
Extend and contract an existing annotation
You can easily extend an existing annotation to more frames. You can do that either by dragging the existing annotation across more frames:
… or (for example in cases when you need to quickly propagate the existing annotation till the end of your video), use Kili’s Propagate to this frame feature:
Watch video
This goes both ways, of course: you can always shrink your annotation span, should you find out you’ve gone a few frames too far.
Adjust annotations on specific frames
If extending and contracting is not enough, you can, of course, adjust the size and shape of your annotated object. Each time you make such an adjustment, you create a key frame: a crucial reference point with your object's location and attributes. This information is then used to track the object across the video's remaining frames. Location of any of the objects located in between key frames is inferred by the video labeling engine (automatic interpolation). Key frames are quite significant, as their presence or absence often determines how certain features behave (more on that later).
Watch video
Note that in Kili’s UI, key frames are marked with a square.
Automatically track moving objects and save yourself tons of rework
Interpolation works well on linear animations but does poorly on more erratic motions so there will be cases where your moving objects quickly move out of focus. To save you a lot of time and alleviate some of the burden resulting from manual rework, you can use Kili’s Smart tracking feature. Simply select a labeled object, then select Smart tracking from its context menu, and have Kili’s backend automatically label the object on all the remaining frames.
Note that smart tracking will only process all the remaining frames in the absence of any key frames. If key frames exist, smart tracking will stop at the next key frame that it finds.
Like with most other Kili’s features, this one’s very flexible, too: depending on what’s easier for you, you can activate smart tracking from the asset viewer or straight from your video’s timeline.
Now, suppose that our smart tracking mechanism lost track of your object at some point. To fix this, you simply locate the problematic frame and Cut from this frame to remove the annotation from all the consecutive frames.
Watch video
If, like in our example video, the object reappears later on, apply Smart tracking when it’s visible again:
…and then use the Group feature to make sure you have one, instead of multiple objects:
Watch video
Alternatively, if our object disappeared only from certain frames, you can use Kili’s Delete selection feature to save yourself some hassle with re-tracking and re-grouping it again.
Finally, to make sure that there’s no gaps between the frames, you can use Kili’s Smart tracking again to interpolate between the key frames you’ve created and thus automatically track the object:
Watch video
Change object’s class on the fly
Kili’s yet another interesting feature is the ability to change an object's class on the fly. Just realized you’ve selected the wrong class? No need to delete the object: use its context menu and simply give it a new class:
Watch video
By default, when you edit the class of an existing object on one frame, the change is automatically propagated to all the other frames.
De-clutter your annotations at a click of a button
Adding and removing annotations from frames, regardless how efficient or seamless it may be, can cause problems, too: in complex projects with many objects visible on screen it’s sometimes hard to filter out the visual noise. Don’t worry, Kili’s got your back here, too: if your interface gets too cluttered, you can easily hide your annotations from the timeline or the job viewer:
Watch video
... or alternatively, if, for some reason, you prefer to keep them visible, move some of your annotations up or down the stack to get a better view:
Watch video
Remove unwanted annotations
If you decide that your annotations are broken beyond repair and you need to start from scratch, you can, of course, always remove your problematic annotation. There’s all sorts of ways you can do that: directly from the asset viewer, using the job viewer, using the timeline, or applying a keyboard shortcut. It all depends on your specific use case and preferences.
Watch video
Summary
As you see, we’ve done our best to make Kili’s revamped video interface both powerful and easy to use. We carefully scrutinized the comments we’ve been getting from our customers and, as a result, redesigned both the look&feel of the video UI and the video labeling steps themselves to make interactions with Kili as easy as breathing itself: from label creation, through all the necessary adjustments and tweaks, all the way to project export. We hope that you’ll enjoy using the refreshed UI at least as much as we did creating it. Let this be a giant leap towards our ultimate goal of being the best on the market and the ultimate milestone to making Kili an obvious choice of partner for all the businesses that deal with video labeling.
Build high-quality video datasets fast
Ready to revolutionize your video annotation process? Try our top-tier video data labeling product for free.

.png)

_logo%201.svg)


